
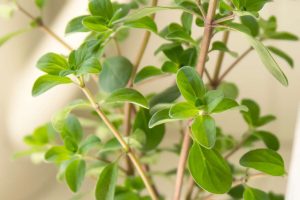
How to Grow Marjoram Indoors
Marjoram is a versatile herb that can be easily grown indoors, providing you with fresh leaves all year round. To get started, choose a small pot with good drainage holes to ensure the roots don’t become waterlogged. Fill the pot with well-draining soil, such as a mixture of potting soil and perlite or sand.
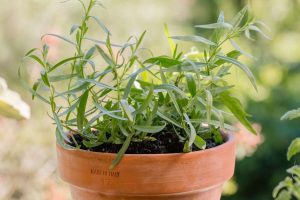
How to Grow Tarragon Indoors
Tarragon is a versatile herb that can be easily grown indoors, making it a great addition to any indoor garden. Its distinct flavor adds depth and complexity to various dishes, from salads to soups and sauces. With its delicate leaves and attractive growth habit, tarragon also makes for an appealing decorative plant in your home.
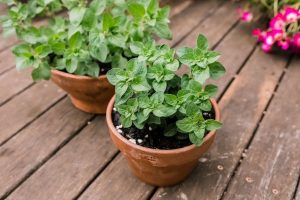
How to Grow Oregano Indoors
When it comes to selecting the right oregano variety for indoor growth, there are a few key factors to consider. Firstly, you’ll want to choose a variety that is well-suited for container gardening. Compact or dwarf varieties such as Greek oregano or Italian oregano are great options as they don’t require much space and can thrive in smaller pots.

How to Grow Catnip Indoors
When it comes to selecting the right catnip variety, there are a few factors to consider. Firstly, you’ll want to think about your cat’s preferences. Some cats may be more attracted to certain varieties than others, so it’s worth experimenting with different options. Additionally, consider the climate and growing conditions in your area. Certain catnip varieties thrive better in specific climates, so choose one that is well-suited for your region.

How to Grow Parsley Indoors
When it comes to choosing the right variety of parsley for indoor growth, there are a few factors to consider. First and foremost, you’ll want to select a variety that is well-suited for container gardening. Look for compact or dwarf varieties that won’t outgrow their pots too quickly. This will ensure that your parsley plants have enough space to thrive indoors.

How to Grow Bay Laurel Indoors
When choosing the right location for your bay laurel, it’s important to consider a few key factors. First and foremost, this plant thrives in full sun or partial shade. It’s best to find a spot that receives at least six hours of direct sunlight each day. This will ensure that your bay laurel grows healthy and strong.