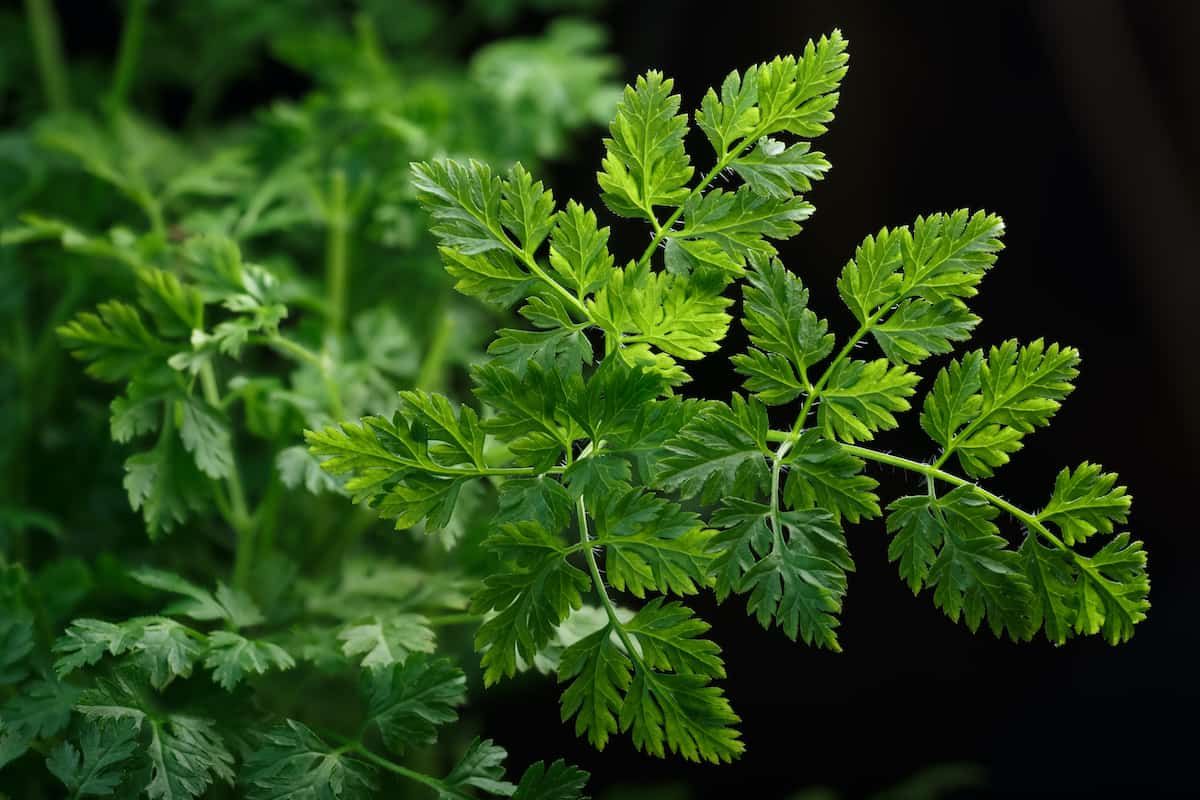
Benefits of Growing Chervil Indoors
Growing chervil indoors offers numerous benefits for both novice and experienced gardeners. First and foremost, it allows you to have a fresh supply of this delicate herb throughout the year, regardless of the season or weather conditions outside. This means that you can enjoy its unique flavor in your culinary creations whenever you desire, without having to rely on store-bought dried chervil.
Another advantage of growing chervil indoors is that it provides greater control over its growth environment. You can customize factors such as temperature, humidity, and light exposure to ensure optimal conditions for healthy plant development. This level of control also reduces the risk of pests and diseases that commonly affect outdoor plants.
Furthermore, indoor cultivation eliminates the need for extensive outdoor space or a traditional garden bed. Even if you live in an apartment or have limited yard space, you can still grow chervil successfully by utilizing pots or containers. This makes it a convenient option for urban dwellers who want to experience the joys of gardening but lack access to large outdoor areas.
In summary, growing chervil indoors not only guarantees a year-round supply of fresh herbs but also grants you greater control over their growth environment while requiring minimal space. So why not bring some greenery into your home and enhance your culinary experiences with this flavorful herb?
Choosing the Right Pot for Chervil Plants
When it comes to choosing the right pot for your chervil plants, there are a few factors to consider. First and foremost, you’ll want to select a pot that is large enough to accommodate the root system of your chervil plant. Chervil plants have fairly shallow roots, so a pot with a depth of around 6-8 inches should be sufficient.
In addition to size, drainage is another important aspect to keep in mind when selecting a pot for your chervil plants. Chervil prefers well-draining soil and can be prone to root rot if sitting in waterlogged conditions. Look for pots with drainage holes at the bottom or consider adding some gravel or broken pottery pieces at the bottom of the pot before adding soil.
Lastly, consider the material of the pot itself. While plastic pots are lightweight and affordable options, they may not provide as good airflow as terracotta or clay pots. Terracotta pots are porous and allow moisture and air exchange through their walls which can help prevent overwatering issues.
By keeping these factors in mind – size, drainage, and material – you’ll be able to choose an ideal pot for your chervil plants that will promote healthy growth and ensure optimal growing conditions.
Selecting the Ideal Location for Your Chervil Plants
When selecting the ideal location for your chervil plants, there are a few key factors to consider. First and foremost, chervil thrives in cooler temperatures, so it is important to choose a spot that provides partial shade or dappled sunlight throughout the day. Direct exposure to intense sunlight can cause the delicate leaves of the chervil plant to wilt and scorch.
Additionally, it is essential to select a location with well-draining soil. Chervil prefers moist but not waterlogged conditions, so avoid areas prone to excessive moisture or standing water. If your soil tends to be heavy or clay-like, consider amending it with organic matter such as compost or peat moss to improve drainage.
Lastly, take into account proximity when choosing the location for your chervil plants. Planting them near other herbs like parsley or cilantro can help create a beneficial microclimate by providing some shade and protection from strong winds. It also makes harvesting easier when all your favorite herbs are conveniently grouped together.
By considering these factors – partial shade, well-draining soil, and strategic placement – you can ensure that your chervil plants have an ideal environment in which they can thrive and provide you with fresh flavors for culinary delights throughout the year.
Preparing the Soil for Chervil Planting
To ensure successful growth of your chervil plants, it is crucial to prepare the soil properly. Chervil thrives in well-drained soil that is rich in organic matter. Begin by clearing the area of any weeds or debris, as these can compete with your chervil for nutrients and water. Loosen the soil using a garden fork or tiller, breaking up any clumps and creating a fine texture.
Next, amend the soil with compost or well-rotted manure. This will improve its fertility and provide essential nutrients for your chervil plants. Spread a layer of compost over the prepared area and use a rake to incorporate it into the top few inches of soil. This will help retain moisture while also promoting healthy root development.
After incorporating compost into the soil, consider conducting a pH test to ensure optimal conditions for chervil growth. Chervil prefers slightly acidic to neutral soil with a pH range between 6 and 7. If necessary, adjust the pH by adding lime to raise it or sulfur to lower it accordingly.
By following these steps and preparing your soil adequately before planting chervil seeds or seedlings, you are setting yourself up for success in growing this flavorful herb indoors.
Planting Chervil Seeds or Seedlings
When planting chervil seeds or seedlings, it’s important to prepare the soil properly. Chervil prefers a well-draining soil that is rich in organic matter. Before planting, loosen the soil and remove any weeds or debris. You can also mix in some compost or aged manure to improve fertility and moisture retention.
Next, decide whether you want to start from seeds or seedlings. If starting from seeds, sow them directly into the prepared soil about 1/4 inch deep and cover lightly with soil. Keep the area moist but not waterlogged until germination occurs, which usually takes around 10-14 days. Thin out the seedlings once they are large enough to handle, leaving about 6 inches of space between each plant.
If using seedlings instead of seeds, gently remove them from their containers and transplant them into the prepared soil at the same depth they were growing previously. Be careful not to damage their delicate roots during this process. Water thoroughly after transplanting to help settle the plants in their new environment.
Remember that chervil thrives in cool temperatures, so if you’re planting during warmer months, consider providing some shade for your newly planted seeds or seedlings by using row covers or placing them under taller plants. This will help prevent stress and ensure successful growth.
By following these simple steps for planting chervil seeds or seedlings, you’ll be on your way to enjoying fresh herbs right at home!
• Prepare the soil by loosening it and removing weeds or debris
• Mix in compost or aged manure to improve fertility and moisture retention
• Decide whether to start from seeds or seedlings
• If starting from seeds, sow them directly into the prepared soil about 1/4 inch deep
• Keep the area moist but not waterlogged until germination occurs (around 10-14 days)
• Thin out seedlings once they are large enough, leaving 6 inches of space between each plant
• If using seedlings, gently transplant them at the same depth they were growing previously
without damaging their delicate roots
• Water thoroughly after transplanting to help settle the plants in their new environment
• Provide shade for chervil during warmer months using row covers or taller plants
Providing Adequate Sunlight for Healthy Chervil Growth
Chervil, a delicate and flavorful herb, thrives in cool temperatures and partial shade. However, it still requires an adequate amount of sunlight to ensure healthy growth. So how do you provide the right amount of sunlight for your chervil plants? Here are some tips to help you out.
Firstly, it’s important to understand that chervil prefers indirect or filtered sunlight rather than direct exposure to the harsh rays of the sun. Placing your chervil plants near a window with sheer curtains or in an area where they receive dappled light is ideal. This will protect them from scorching and prevent their leaves from turning yellow or brown.
Secondly, consider rotating your chervil pots every few days to ensure even exposure to sunlight. By doing this, all parts of the plant will have a chance to soak up the necessary light for photosynthesis. It also helps prevent any leggy growth as the plant reaches towards a single light source.
Lastly, if you’re growing chervil indoors and don’t have access to natural sunlight throughout the day, using artificial grow lights can be beneficial. LED grow lights are energy-efficient and emit just the right spectrum of light needed for plant growth. Position them about 6-12 inches above your chervil plants and keep them on for around 12-16 hours each day.
Remember, providing adequate sunlight is crucial for healthy chervil growth but too much direct sun can harm these delicate herbs. With these tips in mind, you’ll be able to create an optimal environment that promotes lush foliage and enhances the flavor of your homegrown chervil leaves!
Watering and Moisture Requirements for Chervil Plants
Watering and providing adequate moisture is crucial for the healthy growth of chervil plants. Chervil requires consistent watering to keep the soil evenly moist, but not waterlogged. It is important to strike a balance between underwatering and overwatering, as both can be detrimental to the plant’s health.
When it comes to watering chervil, it is best to use a gentle stream or mist setting on your watering can or hose nozzle. This will prevent excessive force that could dislodge the delicate seeds or seedlings. Water should be applied directly at the base of the plant, avoiding wetting the foliage as much as possible.
To determine when your chervil plants need water, check the top inch of soil regularly. If it feels dry to the touch, then it’s time for watering. However, if you notice that there is still moisture present in the soil from previous watering, hold off on adding more water until it has dried out slightly.
Remember that while chervil appreciates consistent moisture levels in its growing environment, excessive standing water can lead to root rot and other diseases. Proper drainage is essential for preventing these issues; make sure your pots have drainage holes and avoid letting excess water accumulate around your plants.
By following these guidelines and maintaining proper watering practices, you will provide optimal moisture conditions for your chervil plants’ growth and ensure their overall health and vitality without risking any potential damage caused by overwatering or inadequate moisture supply.
Fertilizing Chervil for Optimal Nutrient Supply
When it comes to fertilizing chervil plants, providing them with the optimal nutrient supply is essential for their healthy growth and development. Chervil is a delicate herb that requires regular feeding to ensure its nutritional needs are met. One of the best ways to provide nutrients to your chervil plants is through organic fertilizers. These natural fertilizers not only enrich the soil but also promote long-term soil health.
Organic options such as compost or well-rotted manure can be applied around the base of your chervil plants once every few weeks during the growing season. This will help replenish any nutrients that may have been depleted from previous harvests or leached out by heavy rainfall. Additionally, you can use liquid organic fertilizers like fish emulsion or seaweed extract by diluting them in water and applying them directly to the soil around your plants.
It’s important not to over-fertilize your chervil plants as this can lead to excessive leaf growth at the expense of flavor and aroma. Instead, aim for a balanced approach by following package instructions or using half-strength solutions when applying liquid organic fertilizers. By providing your chervil with an optimal nutrient supply, you’ll ensure vigorous growth and abundant foliage that’s packed with flavor for all your culinary creations!
How can growing chervil indoors benefit me?
Growing chervil indoors allows for year-round access to this herb and ensures a fresh supply for your culinary needs.
What type of pot should I choose for my chervil plants?
When selecting a pot for chervil plants, choose one that is around 6-8 inches deep with good drainage holes to prevent waterlogging.
What is the ideal location for growing chervil plants?
Chervil thrives in partially shaded areas with indirect sunlight, so choose a location that provides these conditions for optimal growth.
How should I prepare the soil for planting chervil?
Prepare the soil for chervil planting by loosening it with a garden fork and adding organic matter like compost to improve its fertility and drainage.
Should I plant chervil seeds or seedlings?
You can plant either chervil seeds or seedlings, depending on your preference. Seeds offer more variety options, while seedlings provide a head start in growth.
How much sunlight does chervil need?
Chervil requires around 4-6 hours of sunlight per day. Place it in a location where it can receive adequate sunlight without being exposed to direct, harsh rays.
How often should I water my chervil plants?
Water chervil plants regularly, keeping the soil consistently moist but not waterlogged. Aim to water them every 2-3 days, adjusting based on weather conditions.
What kind of fertilizer should I use for chervil?
For optimal nutrient supply, use a balanced fertilizer with equal amounts of nitrogen, phosphorus, and potassium. A slow-release organic fertilizer is a good option.
How often should I fertilize my chervil plants?
Fertilize chervil plants every 4-6 weeks during the growing season, following the instructions on the fertilizer packaging for proper dosage.
Can I use compost as a natural fertilizer for chervil?
Yes, compost can be used as a natural fertilizer for chervil. Apply a thin layer of compost around the base of the plants, ensuring it does not touch the stems.