Key Takeaways
– Choose a container with drainage holes and at least 12 inches deep. Terracotta pots are ideal.
– Use well-draining soil enriched with compost.
– Choose a location with six hours of sunlight daily and temperatures of 60-70°F (15-21°C).
– Rotate pots if dill leans towards the light source.
– Water when top inch of soil is dry, focusing on the plant’s base.
– Use a balanced fertilizer suitable for herbs.
– Regularly check for pests and use neem oil as a preventive measure.
– Harvest young dill leaves and store in the refrigerator or freezer.
Choosing the Right Container for Indoor Dill Growth
When it comes to choosing the right container for indoor dill growth, there are a few factors to consider. First and foremost, you’ll want to ensure that the container has adequate drainage holes at the bottom. Dill plants don’t like sitting in waterlogged soil, so good drainage is essential for their overall health and growth.
Additionally, it’s important to select a container that is deep enough for dill’s long taproot system. A depth of at least 12 inches should be sufficient to accommodate the roots as they grow downward. Keep in mind that dill can reach heights of up to 3 feet, so choose a pot with enough space for both root development and vertical growth.
Lastly, consider the material of the container. While plastic pots are lightweight and easy to move around, clay or terracotta pots offer better breathability for the plant’s roots. This allows excess moisture to evaporate more effectively from the soil. Whichever material you choose, make sure it suits your needs and preferences while providing optimal conditions for your indoor dill plants’ growth.
Ideal Soil Conditions for Growing Dill Indoors
To ensure successful growth of dill indoors, it is important to provide the ideal soil conditions. Dill prefers well-draining soil that is rich in organic matter. A good option is a potting mix specifically designed for herbs or vegetables, as it will have the right balance of nutrients. Avoid using heavy soils or those that retain too much moisture, as this can lead to root rot.
When preparing the soil for your indoor dill plants, make sure it is loose and crumbly. This will allow for proper air circulation and prevent waterlogging. You can also add some perlite or sand to improve drainage if necessary. Additionally, incorporating compost into the soil will help provide essential nutrients and promote healthy growth.
Maintaining the moisture level of the soil is crucial for growing dill indoors. It should be kept consistently moist but not overly saturated. To achieve this, water your plants when the top inch of soil feels dry to the touch. Remember to water at the base of the plant rather than directly on its leaves to avoid causing damage or encouraging diseases.
Picking the Perfect Location for Your Dill Plants
When choosing the perfect location for your indoor dill plants, it’s important to consider a few key factors. First and foremost, dill loves sunlight. So, look for a spot in your home that receives at least six hours of direct sunlight each day. This could be near a south-facing window or even on a sunny balcony if you live in an apartment.
Another factor to consider is temperature. Dill thrives in moderate temperatures between 60-70°F (15-21°C). Avoid placing your dill plants near drafts or heating vents as extreme temperature fluctuations can stress the plant.
Lastly, think about accessibility when picking the location for your dill plants. You’ll want them to be easily accessible so you can harvest fresh leaves whenever needed. Consider placing them near your kitchen or dining area where you can conveniently snip off some flavorful foliage while cooking or preparing meals.
Providing Adequate Sunlight for Your Indoor Dill
One of the most important factors in successfully growing indoor dill is providing it with adequate sunlight. Dill plants thrive in bright, direct sunlight, so it’s essential to choose a location that receives at least six to eight hours of sun each day. Place your pots near a south-facing window or use artificial grow lights if natural light is limited.
If you notice your dill plants leaning towards the light source or becoming leggy and weak, it’s a sign that they are not getting enough sunlight. In this case, consider rotating the pots every few days to ensure even exposure to sunlight from all sides. This will help promote strong and upright growth.
While dill can tolerate some shade, insufficient sunlight can lead to stunted growth and poor flavor development. So make sure your indoor dill gets plenty of sunshine for optimal health and productivity. Remember, happy herbs need their daily dose of vitamin D!
Watering Tips to Keep Your Dill Plants Thriving
Watering your dill plants properly is essential for their growth and overall health. Here are some tips to help you keep your indoor dill thriving:
First, it’s important to water your dill plants consistently but not excessively. Overwatering can lead to root rot and other problems, so make sure the soil is slightly moist but not soaked. A good way to check if your dill needs watering is by sticking your finger about an inch into the soil – if it feels dry at that depth, then it’s time to water.
When watering your dill, aim for a gentle stream of water directly onto the base of the plant. This will ensure that the roots receive adequate moisture without causing any damage or disturbance to the delicate foliage. Avoid getting water on the leaves as this can increase the risk of fungal diseases.
In addition to regular watering, consider using a well-draining potting mix for your indoor dill plants. This will prevent excess moisture from accumulating around the roots and promote healthy growth. Remember that every plant has different water requirements, so observe how quickly or slowly the soil in your container tends to dry out and adjust your watering schedule accordingly.
Fertilizing Indoor Dill for Optimal Growth
When it comes to fertilizing indoor dill for optimal growth, there are a few key considerations to keep in mind. Firstly, choose a balanced fertilizer that is specifically formulated for herbs or vegetables. This will ensure that your dill plants receive the necessary nutrients without being overwhelmed by excessive amounts of certain elements.
During the initial stages of growth, it’s important to provide your indoor dill with a nitrogen-rich fertilizer. Nitrogen promotes leafy green growth and helps establish a strong foundation for the plant. Look for a fertilizer with a higher first number on its label (e.g., 10-5-5), indicating a higher concentration of nitrogen.
As your dill plants mature and begin producing flowers, switch to a fertilizer with lower nitrogen levels but higher phosphorus and potassium content. Phosphorus supports flower and fruit development, while potassium enhances overall plant health and disease resistance. A balanced formula such as 5-10-10 or 6-12-12 can be suitable during this stage.
Remember not to over-fertilize your indoor dill as this can lead to nutrient burn or imbalances in the soil. Always follow the instructions provided by the manufacturer regarding application rates and frequency. Regularly monitor your plants’ response to fertilization, adjusting accordingly if you notice any signs of stress or nutrient deficiencies.
Preventing Common Pests and Diseases in Indoor Dill
One of the key challenges in growing indoor dill is preventing common pests and diseases that can hinder its growth. One way to keep these issues at bay is by regularly inspecting your plants for any signs of infestation. Look out for pests such as aphids, spider mites, and whiteflies, which are known to target dill plants. If you spot any unwanted visitors, it’s important to take action immediately.
To prevent pest infestations, consider using natural remedies or organic insecticides specifically formulated for indoor gardening. Neem oil is a popular choice as it is effective against a wide range of pests while being safe for both humans and pets. Simply dilute the neem oil according to the instructions on the bottle and spray it onto your dill plants every few weeks or as needed.
In addition to pests, fungal diseases like powdery mildew can also affect indoor dill. To minimize the risk of fungal infections, ensure proper air circulation around your plants by placing them in well-ventilated areas. Avoid overcrowding multiple pots together as this can create a damp environment conducive to disease development. Furthermore, watering from below rather than overhead can help prevent water droplets from lingering on leaves and promoting fungal growth.
Harvesting Dill Leaves for Culinary Use
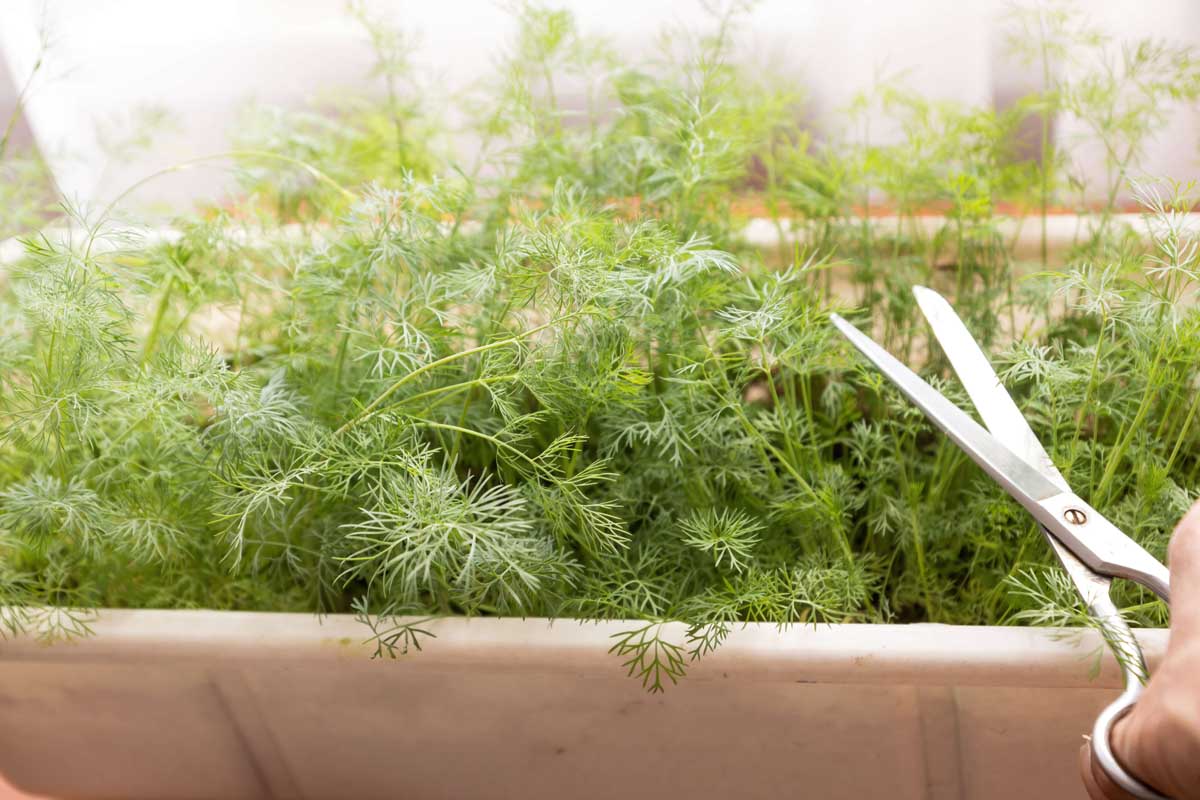
When it comes to harvesting dill leaves for culinary use, timing is everything. The best time to harvest your dill leaves is when they are young and tender, before the plant starts to flower. This is when the flavor of the leaves is at its peak. To harvest the leaves, simply snip them off with a pair of clean scissors or pinch them off with your fingers.
Once you have harvested your dill leaves, it’s important to store them properly to maintain their freshness and flavor. One option is to place the freshly harvested leaves in a plastic bag and store them in the refrigerator. Another option is to freeze the leaves by placing them in an airtight container or freezer bag. Frozen dill can be used directly from the freezer without thawing.
Now that you know how to harvest and store your dill leaves, it’s time to start using them in your favorite recipes! Dill adds a fresh and vibrant flavor to many dishes, particularly those with fish or potatoes. You can sprinkle chopped dill over roasted vegetables, mix it into salad dressings or sauces, or even infuse oils or vinegars with its distinctive taste.
Remember, harvesting dill leaves for culinary use allows you to enjoy this flavorful herb all year round. So go ahead and add some fresh dill goodness into your next meal – your taste buds will thank you!
Can I grow dill indoors?
Yes, you can definitely grow dill indoors.
What type of container should I use for indoor dill growth?
It’s best to choose a container that has drainage holes at the bottom to ensure proper water drainage.
What kind of soil should I use for growing dill indoors?
Use a well-draining potting mix that is rich in organic matter.
Where should I place my dill plants indoors?
Choose a location that receives at least six hours of sunlight each day.
How often should I water my indoor dill plants?
Water your dill plants whenever the top inch of soil feels dry.
Do I need to fertilize my indoor dill plants?
Yes, it’s recommended to fertilize your dill plants every four to six weeks using a balanced fertilizer.
How can I prevent pests and diseases in my indoor dill plants?
Keep a close eye on your plants for any signs of pests or diseases, and make sure to provide good air circulation to prevent dampness.
When is the best time to harvest dill leaves for culinary use?
You can start harvesting dill leaves once the plant reaches around 12 inches in height, typically about six to eight weeks after planting.